So many walls… so little budget. That’s the story of my life right now. Our home projects have taken over & decorating just isn’t a priority. But I want to decorate! At least a little bit to make it feel more “homey.”
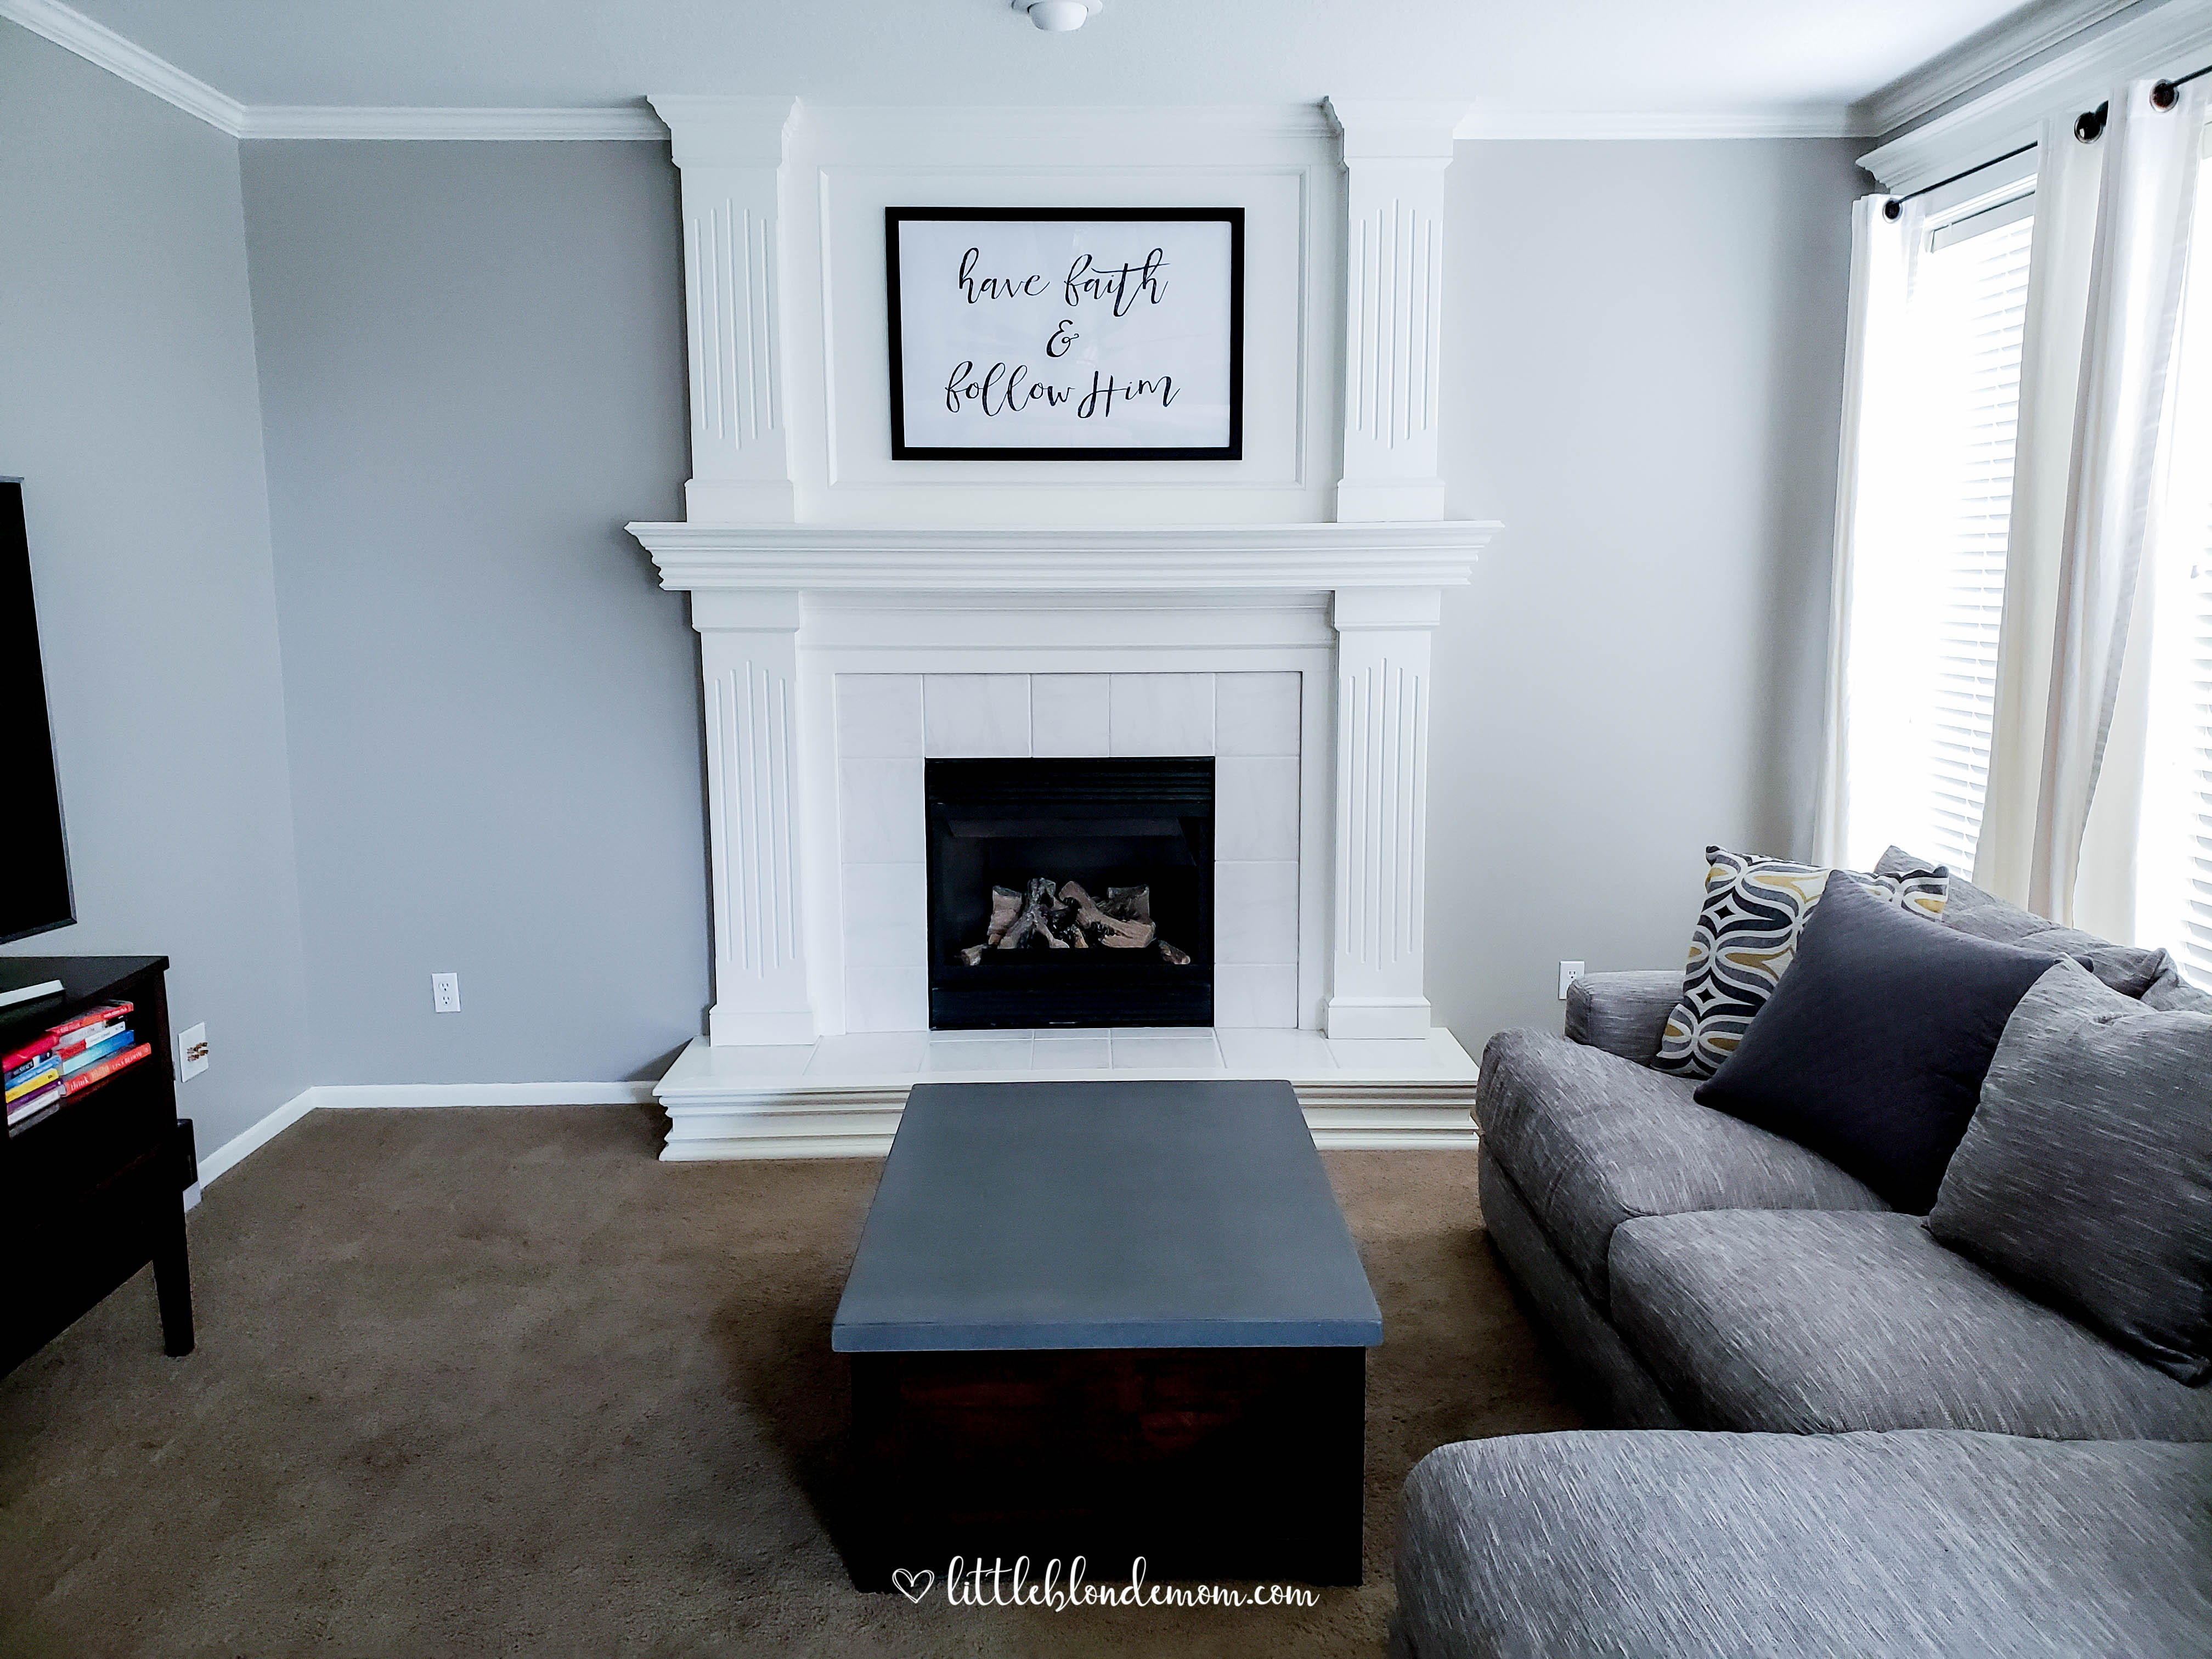
Our fireplace mantel has a huge open “framed in” space above it. In a perfect world, we would have our TV mounted up there. Except the way our living room is laid out, if we had the TV there, we’d have to put the couch facing the TV, blocking off the room. We decided we wanted to keep it as open as possible, especially because it’s not a very big space. So now we had to figure out what to do for the mantel area. For cheap.
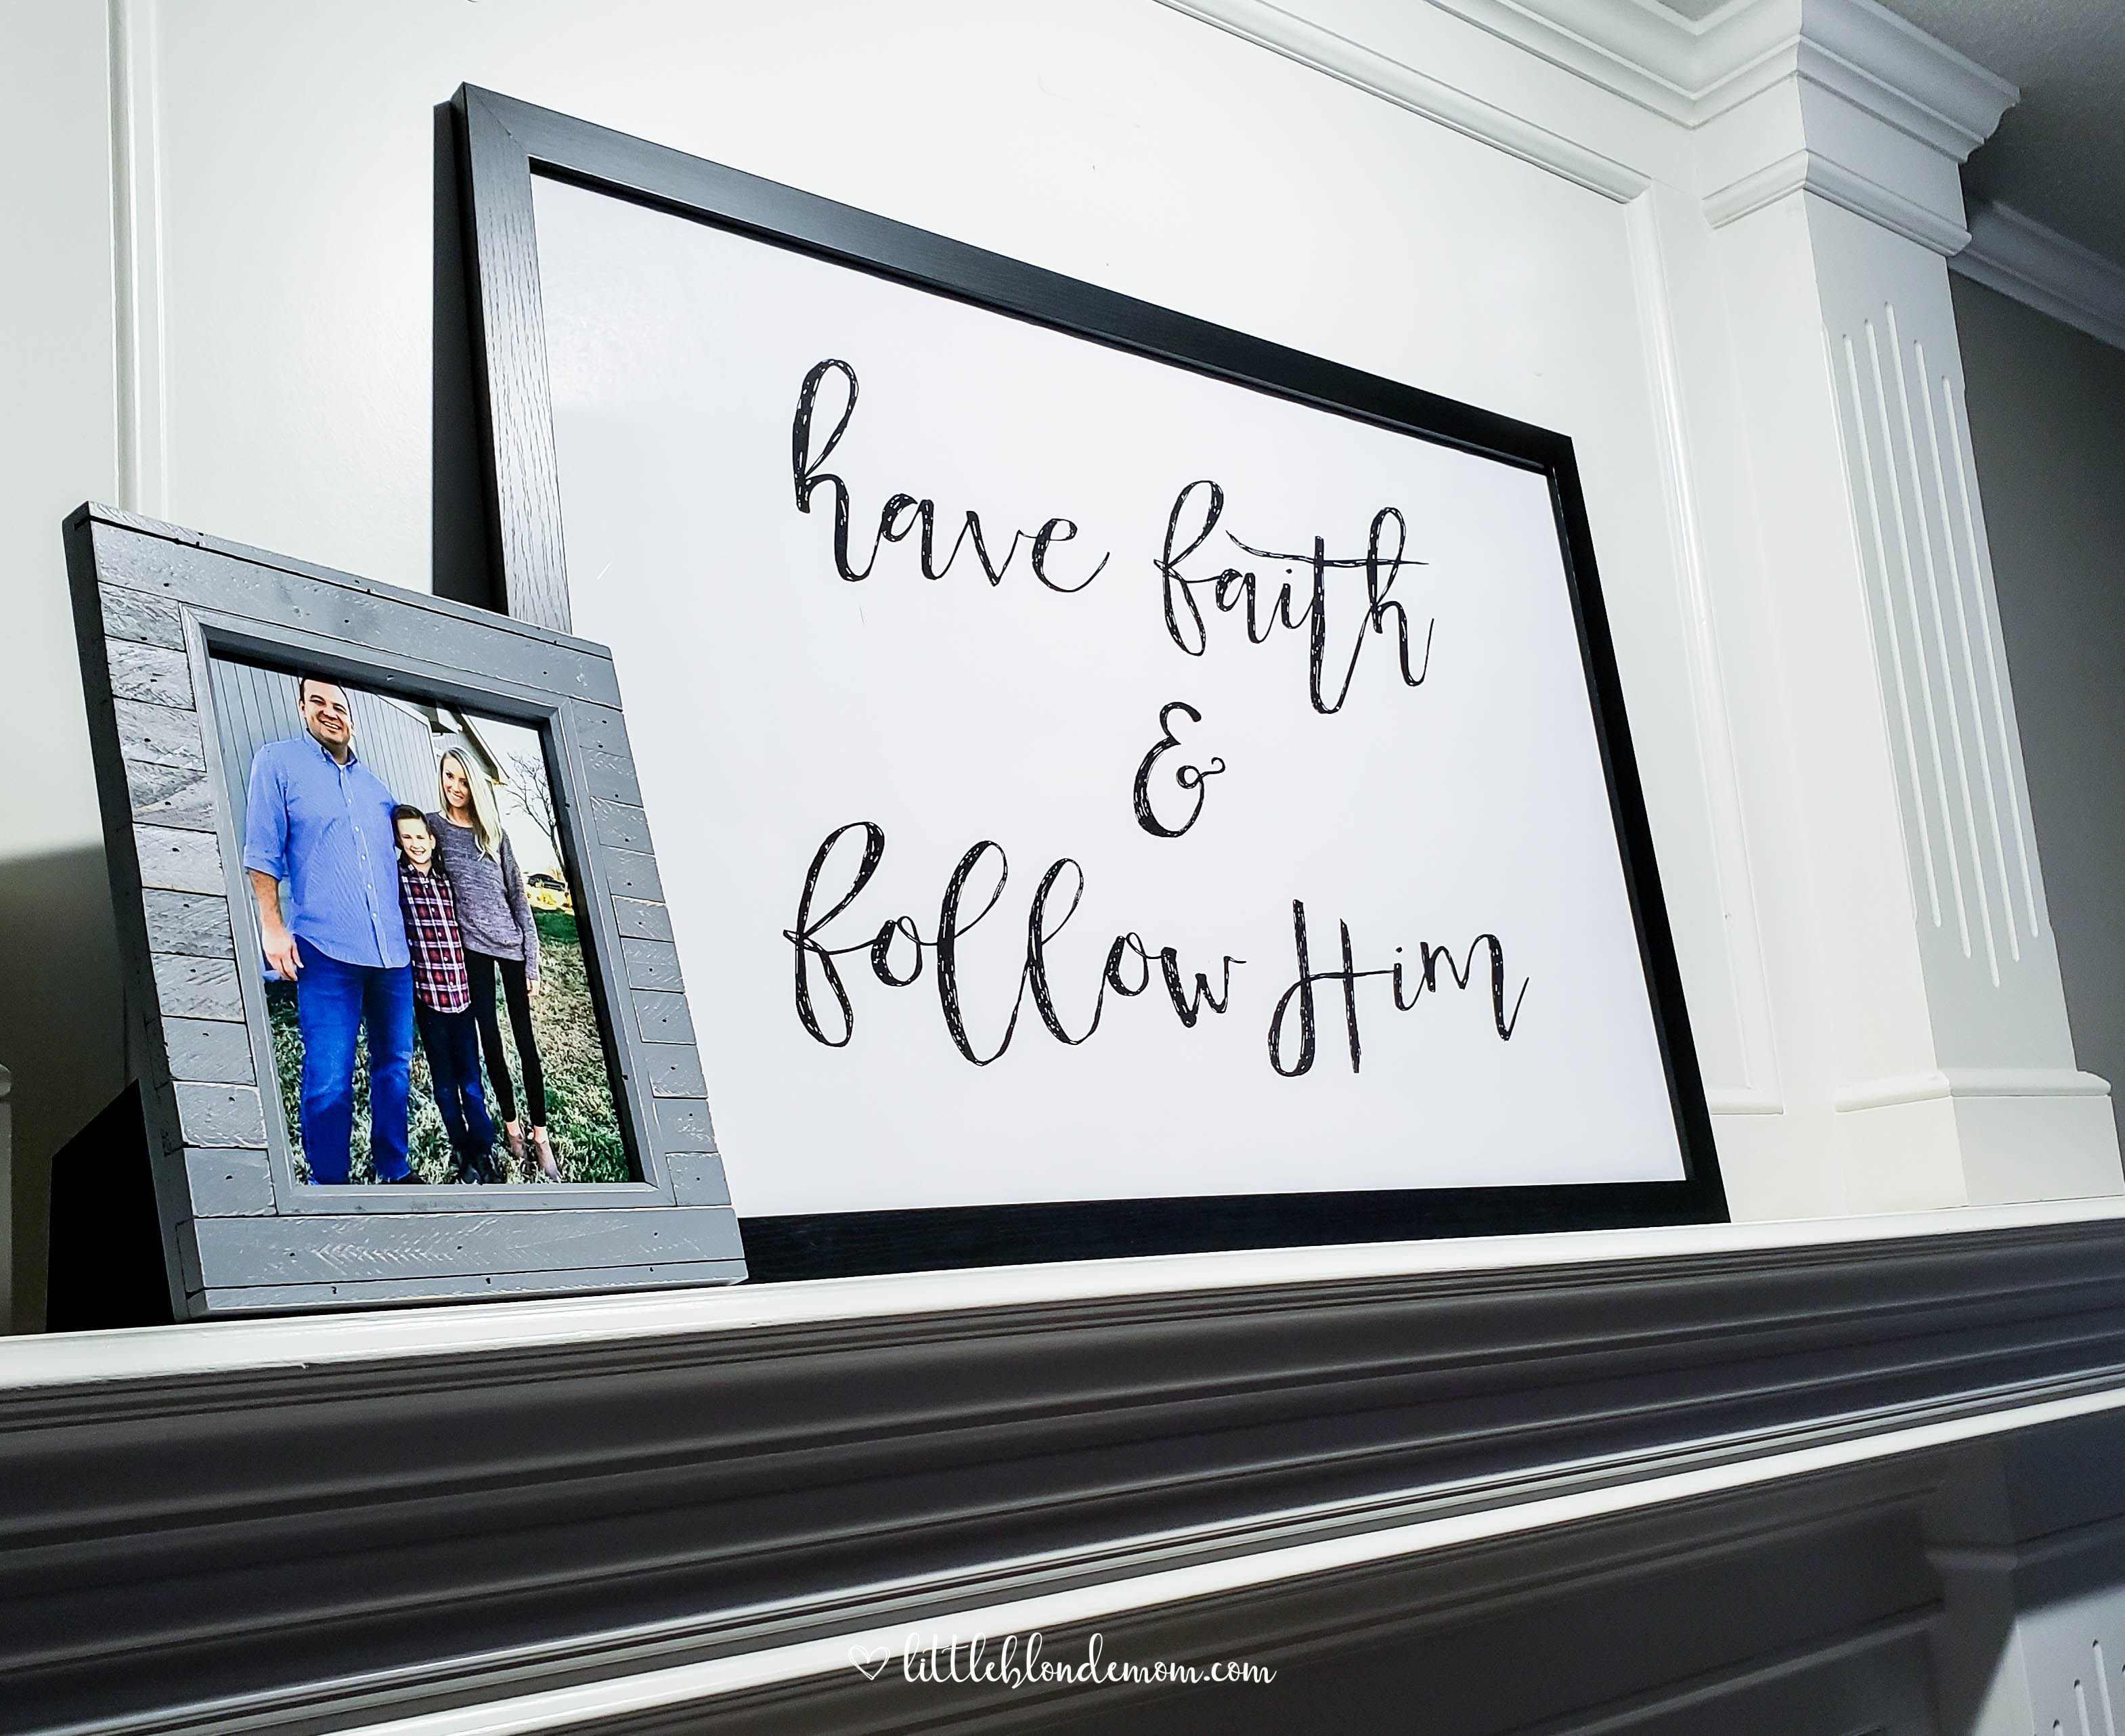
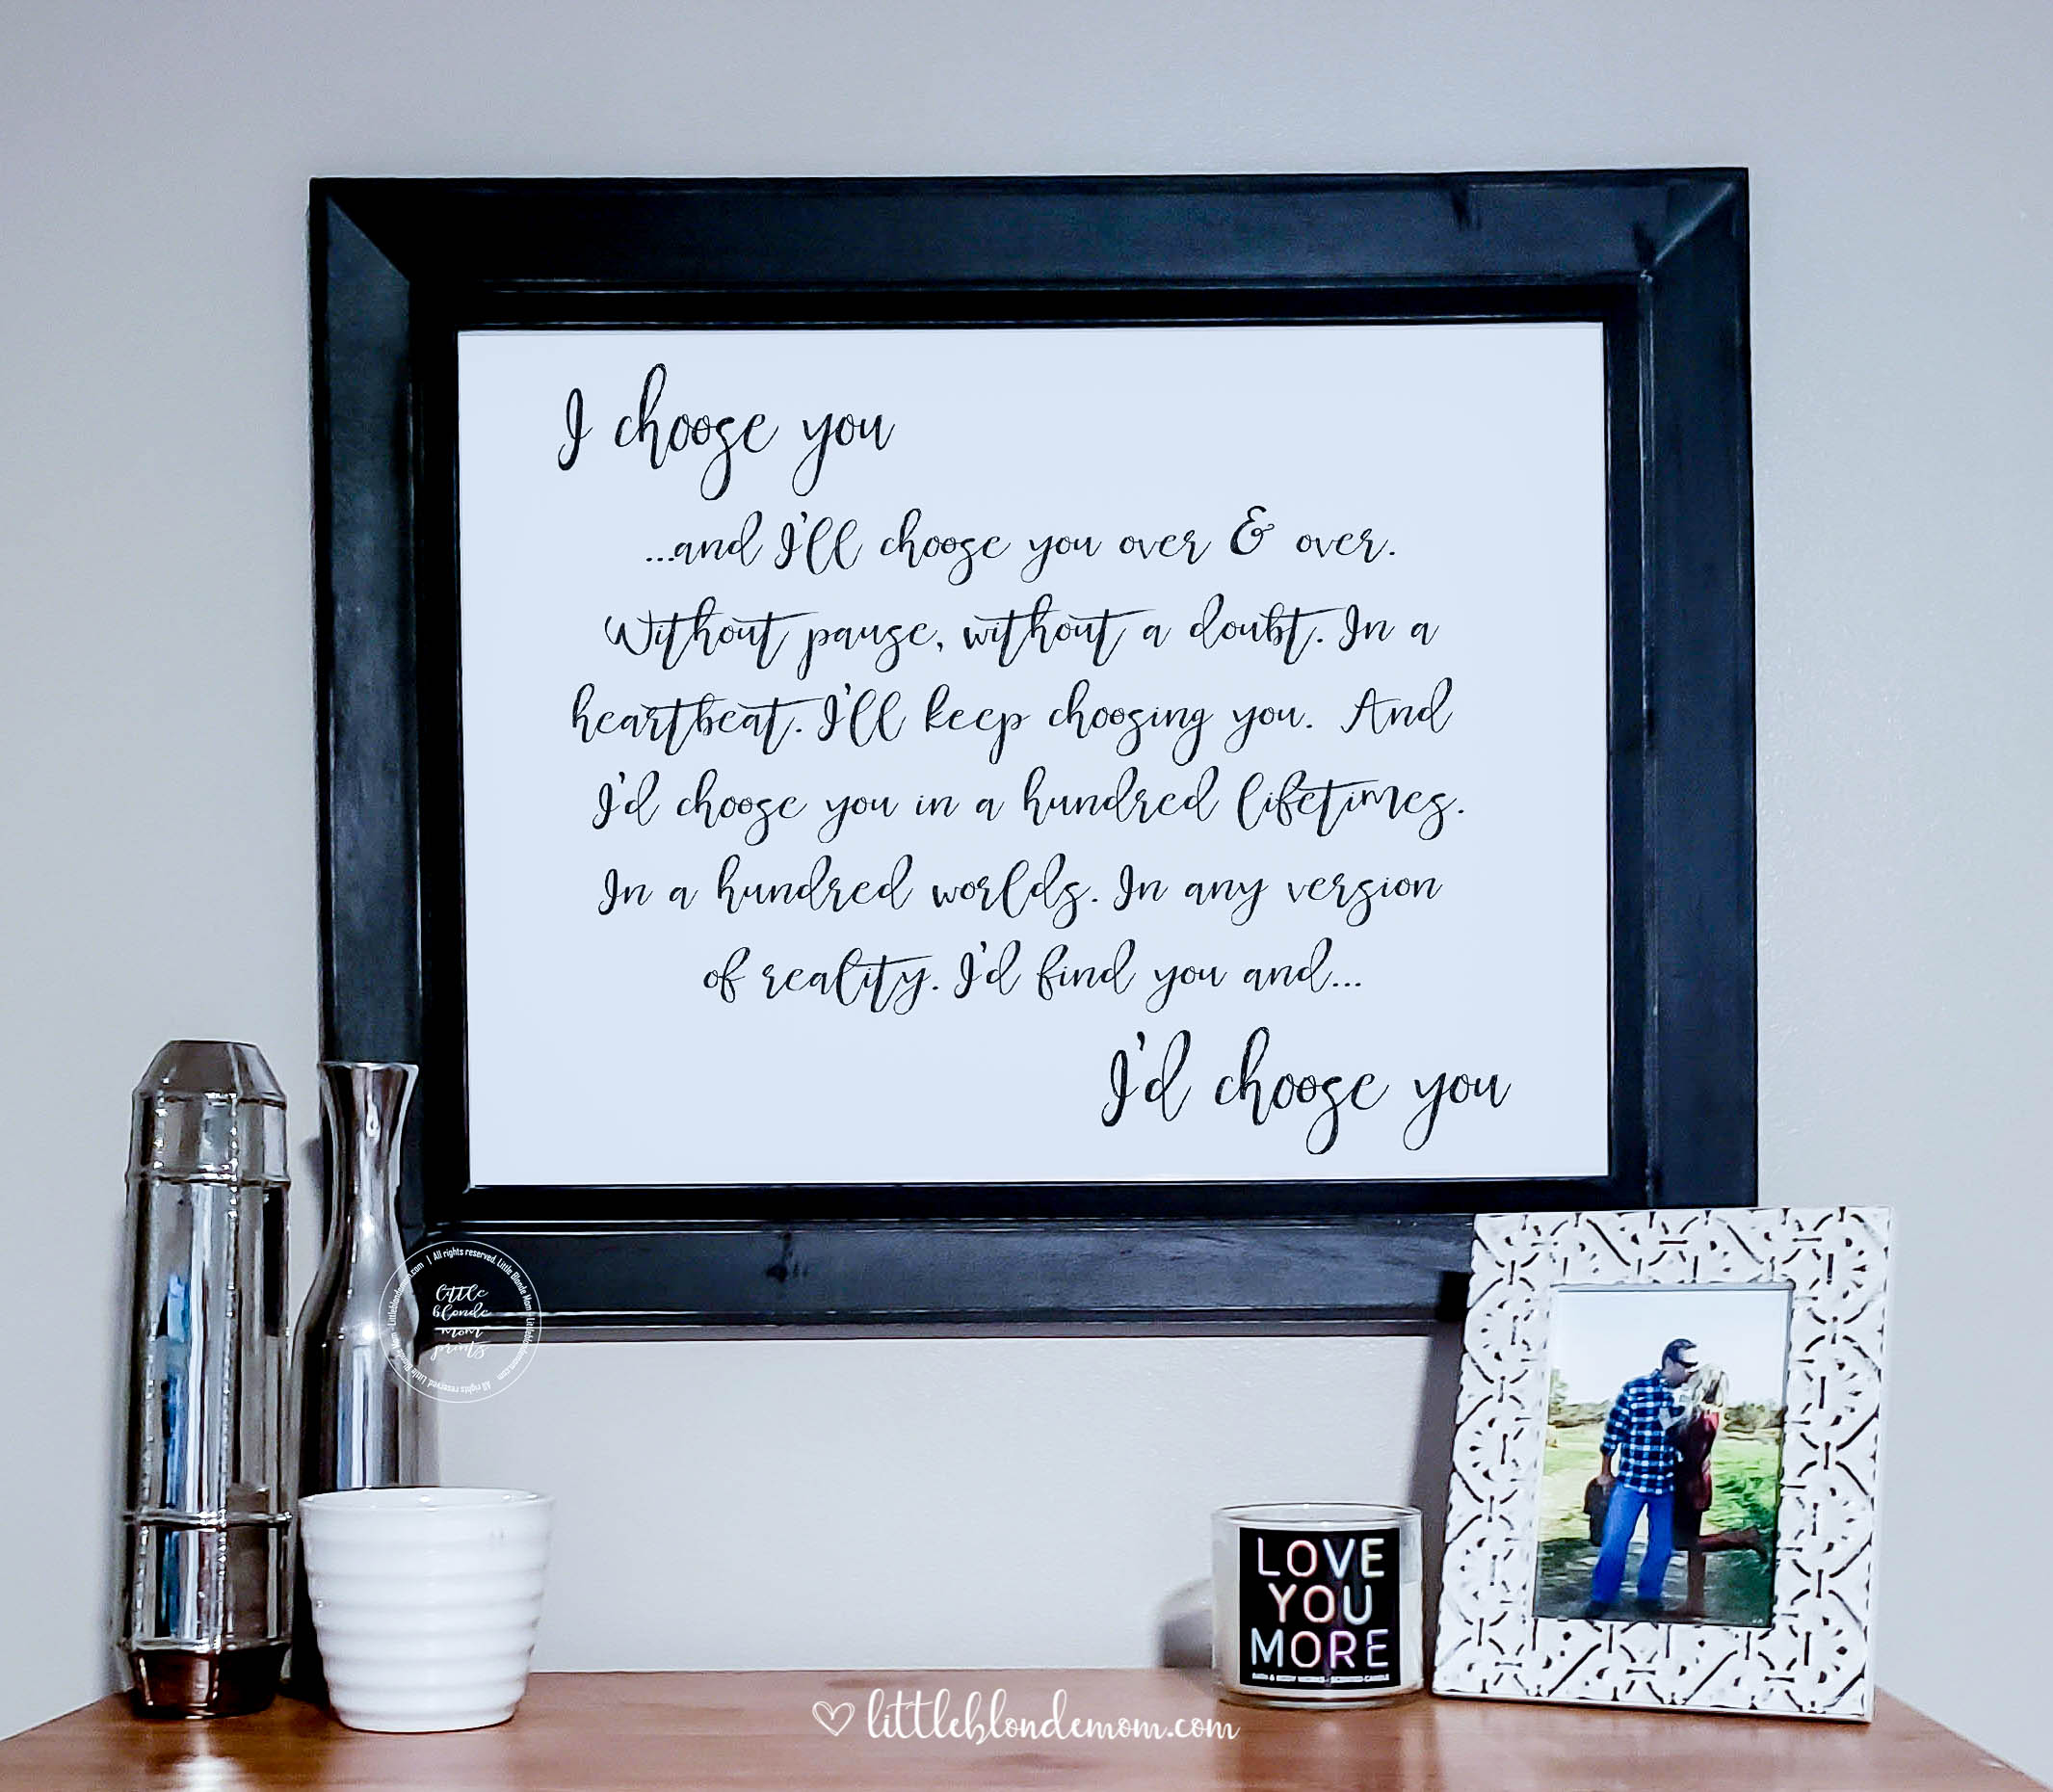
Soo, I decided I was going to design some wall art myself, get it printed, and frame it. (Side note: Sometimes when I tell Chris I’m going to make something, I think he gets nervous that it’s going to look like an arts & crafts project lol… Luckily, he has liked everything I’ve done so far! Plus I stole our living room quote from one of his tattoos!)
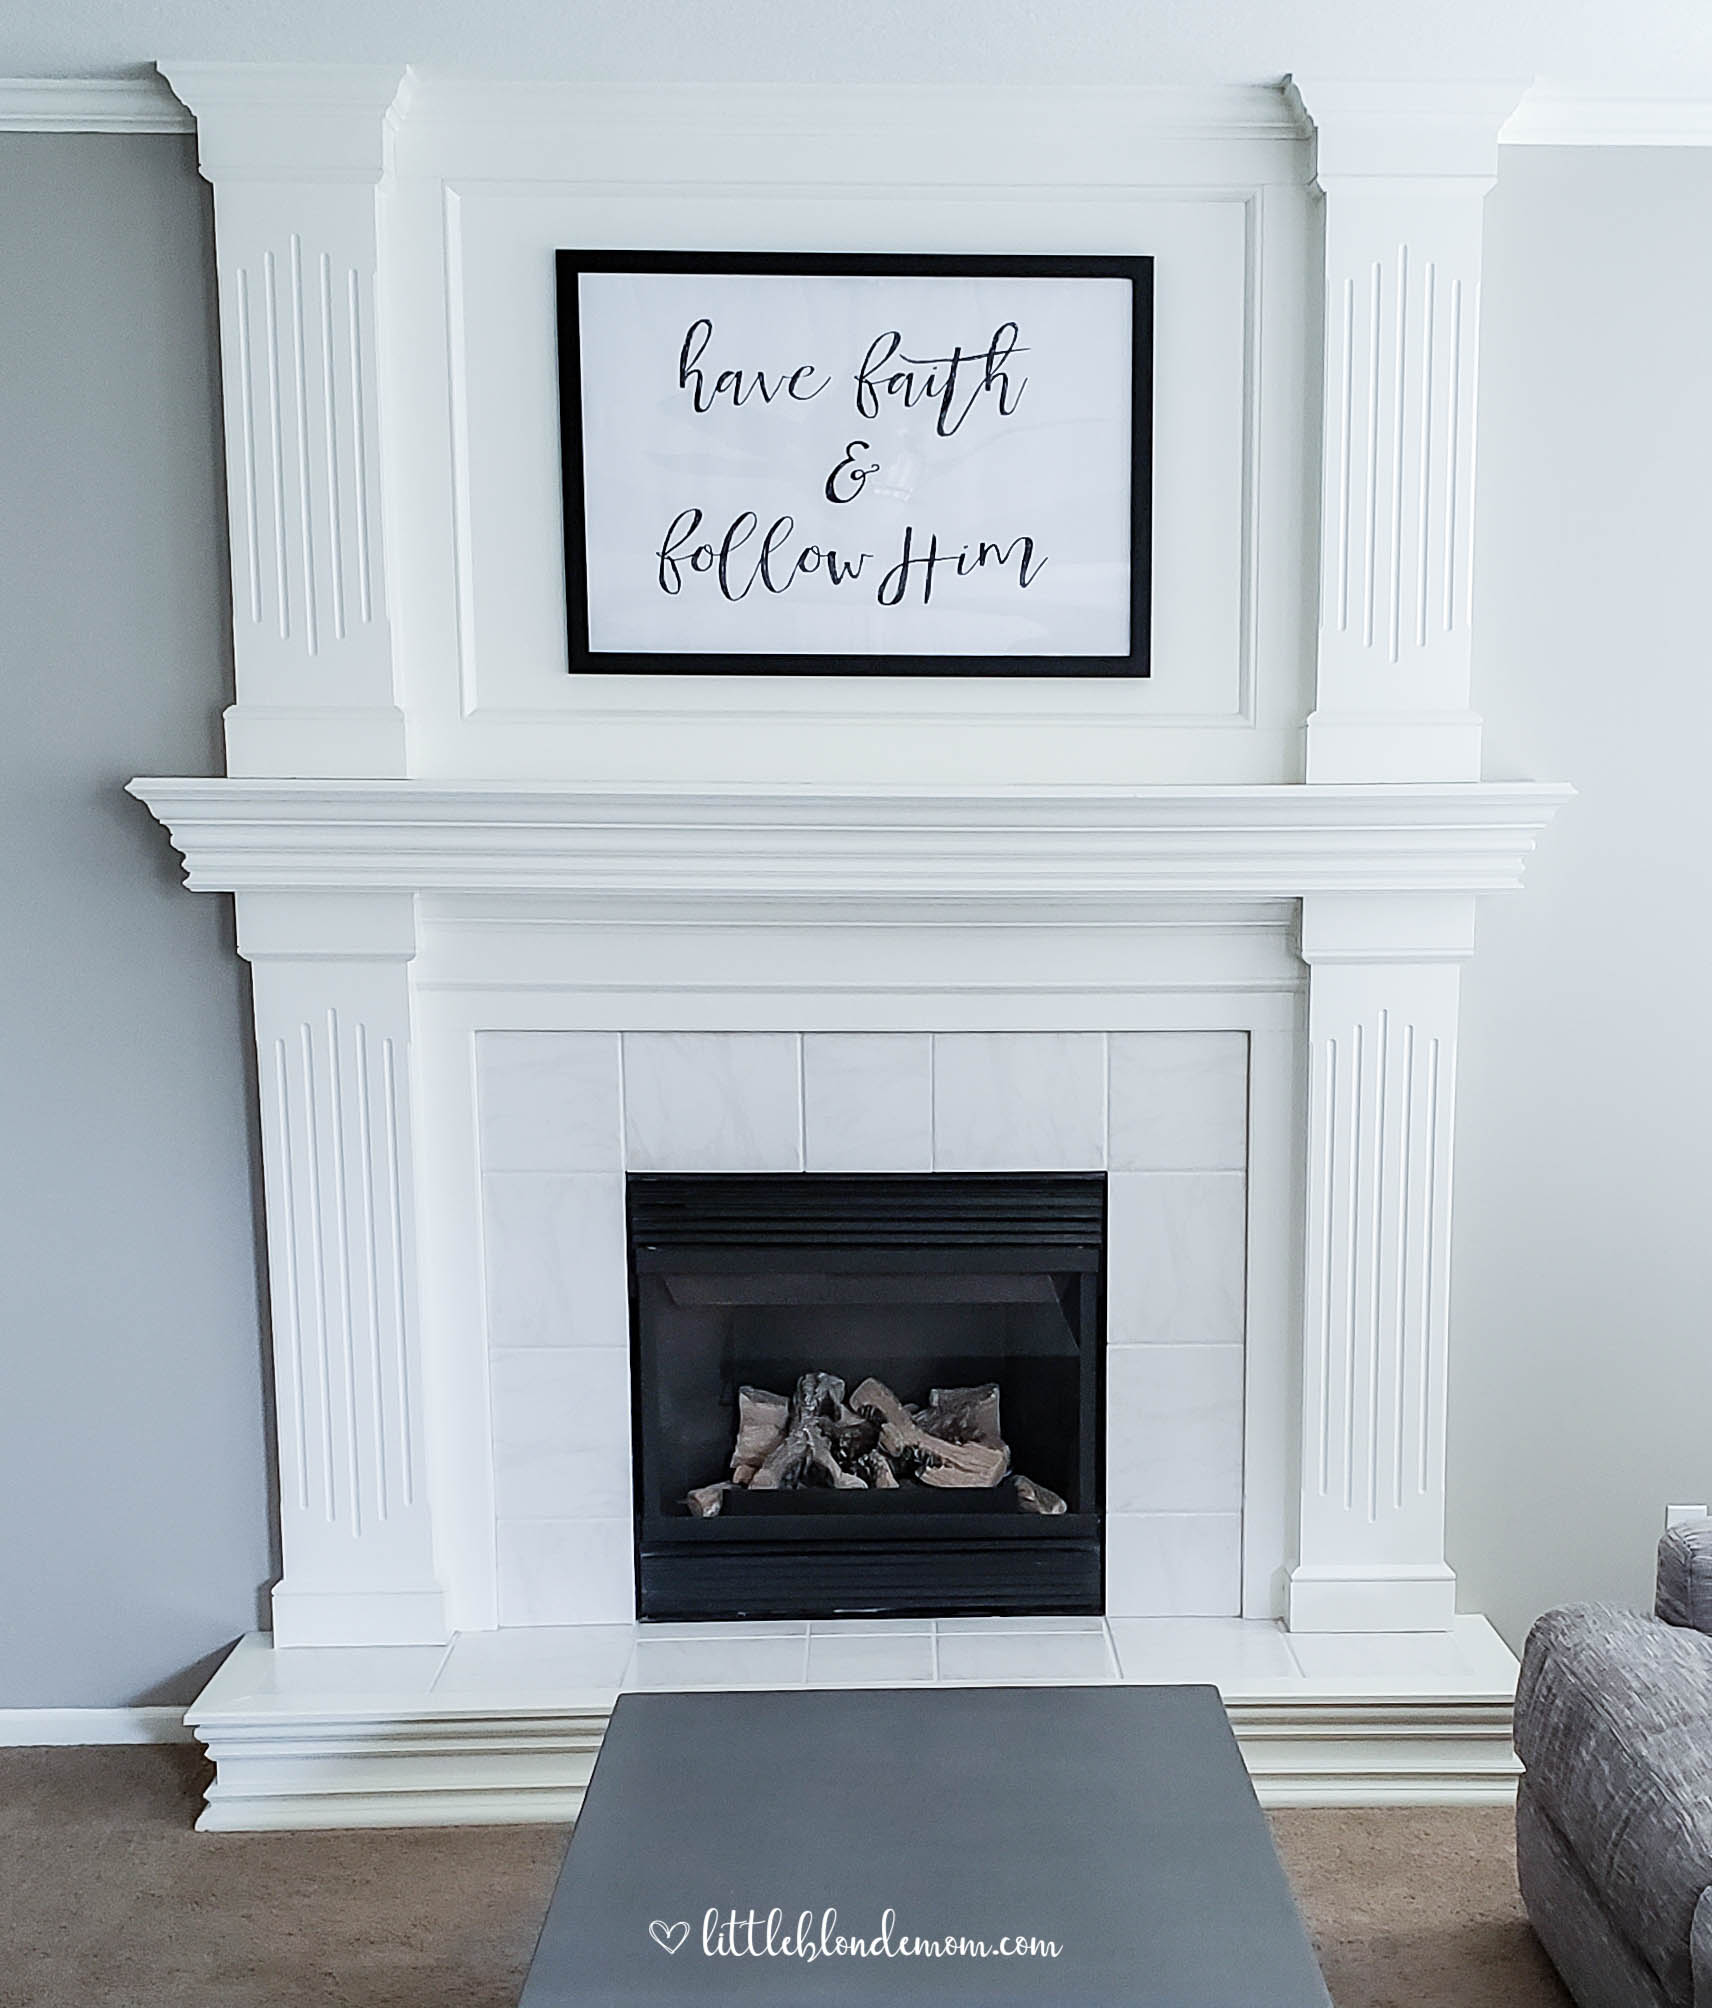
Here’s what I ended up doing in our living room:

In our bedroom, we actually don’t have much wall space. Our headboard is really tall, then we have the TV above a wide dresser, and we’re planning on putting a large full length mirror in a corner. We do, however, have a space above our tall dresser. –We have old yucky dressers in our room now that we weren’t planning on using, but then decided to redo them, just haven’t had time yet.– So since this is really the only space for wall decor, I wanted something special & SWEET. Chris originally thought it would be too busy, but we actually both LOVE it. It is 24×18 – so it’s big – and it looks soo good!

We are honestly in love with both of them & I’m so happy with how they look.
Are you ready to make your own? Here’s how!
1. Create or Find a Design
Create: You can totally design your own Wall Decor if you want to. I designed our living room & bedroom prints in Adobe Illustrator, but you could easily do it in Photoshop, or for free in Powerpoint. I’m thinking of doing a quick tutorial post in the future with how I make all my printables, if there’s any interest!
Find a Design: If you’re not creative, or you just don’t want to design your own art, you’re not alone. You can find some free printables on Pinterest & if the quality is good enough, you can resize them to large prints. Check out my FREE home decor printables here! Etsy is also a good place to find inexpensive home decor that you can print yourself. The two prints that I have up in my home now are available in my Etsy shop in many sizes and I also have several others:

Check out more of my Etsy Listings!
Use code LITTLEBLONDEMOM to get 40% off your order from my shop.
2. Print the Design
You have an awesome piece of art on your computer. Now what? Print it! Staples & Office Depot offer printing services for Engineer Prints. Engineer Prints are large black & white prints that are super cheap (they come in color too, but are slightly more in price). Disclaimer: You get what you pay for. It is flimsy, thin paper. But in my opinion, it doesn’t matter once you frame it. I can’t tell it’s thin paper once it’s framed, so no big deal to me.
I have gotten a lot of projects printed at Staples, but for the Engineer Print, I found Office Depot’s online ordering much more user friendly. It was easy to see what it would look like printed and then adjust if necessary. Like I said before, I got one printed as 18×24 (under $2) and one 24×36 (under $4). It was ready next day, so I just picked it up. Fast & easy!
3. Frame it
Now it’s time to frame your design! The fun part is picking out a frame. My favorite place to get frames is Michael’s. Um is there a support group for Michael’s addicts? Asking for a friend… They always have a huge selection of frames and I find that most of the time they’re on sale. And if they’re not on sale, they usually have a handy dandy 40% off coupon on their website.
For our bigger print over the fireplace, I chose a very plain black frame. *I found an almost identical frame on Amazon here* Our fireplace already has some interesting detail, so I didn’t want it to be too much. I also plan to decorate the mantel with other accent decor (hopefully within the next 5 years ha!), so a simple frame works.
Our bedroom on the other hand is extremely simple and plain – which is kind of what we are going for. I felt like a thicker distressed frame would look nice over our tall dresser (which will eventually be refinished, it’s so ugly right now). It was a little more expensive (it was 55% off making it around $30), but still not bad for the quality & size. I found a similar weathered barnwood frame here.
4. Hang it up & Enjoy
Hang it up, prop it up, whatever you want – but now you get to enjoy your new decor! I love ours and I love the price tag even more. 😉
Cost Breakdown
24×36 Living Room Decor
Design: Free (created in AI)
Engineer Print: <$4
Frame: $15
Total Cost: $21
18×24 Bedroom Decor
Design: Free (Created in AI)
Engineer Print: <$2
Frame: $30
Total Cost: $32
Hopefully you got some inspiration from our DIY projects – and if you have ANY questions please comment below. I was trying to not to make this super long, so if I missed anything or didn’t explain something enough, let me know and I’m happy to help 🙂

love!! which powerpoint are you referring to to create our own printables?
Hey! Really any version of Microsoft Powerpoint works. You can change the “slide” dimensions & orientation. Then create whatever your heart desires 🙂
[…] littleblondemom […]